The Ideal Temperature
There really is no ideal temperature. It really depends on what you are sautéing and what you plan to do with the ingredients when you are done. I usually want to sear a piece of meat, chicken, or fish and begin the caramelization process (actually the Maillard Reaction) to get that wonderful brown crust, but that may not always be the case. Chef Todd Mohr told me:
The caramelization of sugars may not always be the goal, so the pan needn’t be 320°F all the time. That’s just my target zone to get a nice brown color on a protein product for plate presentation. Caramelization may not be the goal if you’re going to use the chicken in another preparation where color or texture isn’t important.
Let’s say you’re making chicken burritos. A caramel “crust” on a chicken breast that will be shredded, wrapped in a tortilla with sauce, and baked again, may not be the best method. Then, 320°F isn’t the goal. However, you always want to ensure the pan is above 165F, where proteins coagulate and cooking begins.

Practice Makes Perfect
The first time you cook with a proper pan and at the correct temperatures, you’ll probably burn something. It happens. That’s part of the learning curve. Start small. Toss a diced onion into a small sauté pan and practice.
Heat the pan until water drops sizzle and vanish. Add oil and watch for the shimmer to appear. Then toss in the onions and pay attention. Notice the sound. Smell the change. Watch the color.
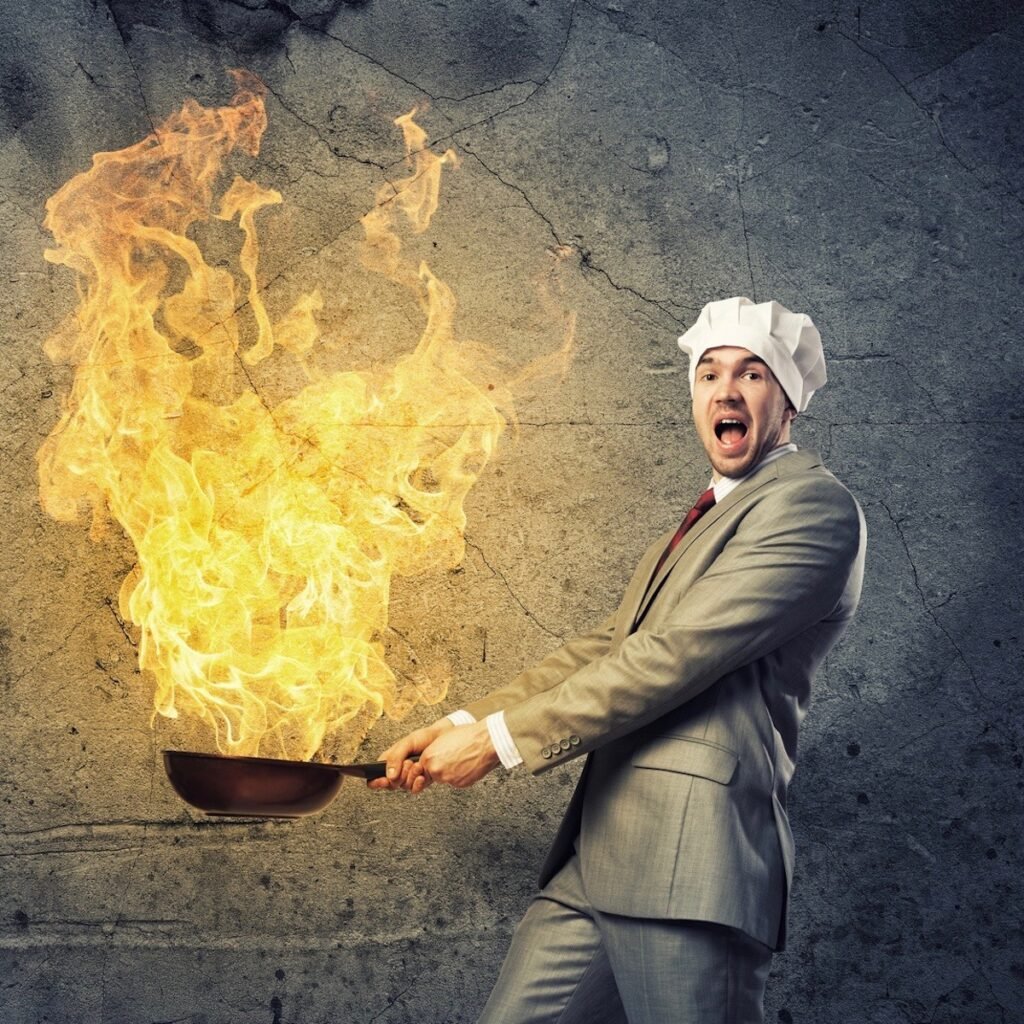
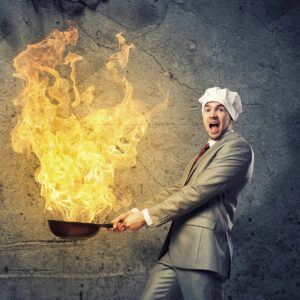
Cooking like a pro means staying sharp. You can’t juggle five things and expect great results. Focus matters—for flavor and for safety.
Sautéing, deglazing, reducing—they all take practice. Lots of it. Just like chopping. No one nails it right away. Pros cook hundreds of meals a week. Most of us don’t.
So take it slow. Stick with medium to medium-high heat while you build confidence. Speed comes later.
When reducing sauces, you can crank the heat. Just keep a close eye. As it thickens, turn the heat down so it doesn’t burn. And never walk away.
If you need to step away, pull the pan off the heat. Finish it later. I’ve ruined more sauces by getting distracted than I care to admit. A splash of stock can save it, but staying with it is better.
Good pans help. Heavy-bottomed sauté pans heat evenly and prevent burning. Thin, cheap pans don’t. They create hot spots, and those lead to trouble.
Want a quick lesson in speed-sautéing? Watch Chef Ricco’s Garlic and Oil in action.


13 Responses
Very nice job at giving the basics of the process. I have had the fantastic opportunity to teach at various Culinary Institutions in Europe and the US as well as Canada and Mexico. I’m guessing you do have the knowledge necessary to pass on a little bit more of the science of heat, fat, and oil and what happens when liquid (could be water from the product, stock, or even wine) is introduced. The physical (physics) applications that occur with and how the structure of the food changes is wonderful. I have a son just beginning a career in the food service industry, and it’s hard to give too much information. Keep going. Get people excited. It’s great fun.
Hi Don, thank you for your wonderful comments. I have a very limited knowledge on food science and the science of heat and fat and oil. I am a novice home cook who finds an interesting food topic, research it and then pass it on here. If you ever want to share some of your knowledge, I would be happy to hear it from you.
Thanks for the information. though you could have answered for me in about one sentence.
Maybe two.
fq
Why use one or two sentences when dozens are available?
I understand that you want the oil to reach the point right before it begins to smoke. But I have some questions:
1) What does it actually mean for an oil to smoke? If it bubbles when you put food in it, is that smoking? If it bubbles without food, is that smoking? In cooking videos it seems to bubble when you put food in. From what I understand, smoke is gas, and bubbling is when a liquid turns to a gas.
2) In your video at :43, you say that when the pan’s at the right temperature, one or two beads form immediately. That never happens for me. I never get to the point where beads are forming but not bubbling. As I make the pan hotter and hotter, it just bubbles faster and with bigger bubbles. Although my pan is different from yours.
3) Alternatively, I understand that you could watch to see when the oil “ripples” and becomes “striated”. I’m still unclear what exactly it’s supposed to look like. Some pictures would be helpful. Maybe showing different degrees of striation and rippling and explaining how far along it is. Some sort of quiz would be really cool too, to help beginners get experience differentiating.
Thanks,
Adam
Adam, good questions.
When oil smokes, it’s reached its smoke point—the temperature at which it starts to break down and burn. You’ll see wisps of bluish-gray smoke rising from the surface, and you may notice a bitter or burnt smell. This is a sign the oil is too hot and has started to degrade. Food cooked in smoking oil can taste unpleasant and may even release harmful compounds if overheated for too long.
When you add food to hot oil and it bubbles, that’s a good thing—it means the oil is hot enough to cook. The bubbling is actually moisture from the food instantly turning to steam. It’s especially noticeable with wet or high-moisture foods (like vegetables, chicken, or fish). This is not smoking. In fact, bubbling is what gives you that nice sear or golden crust.
Actually, MANY of us DO have infrared thermometers these days and including the actual ideal temp for various sauteing (chicken pillards, veal scaloppine, beef steaks) would have been nice.
And by the way, when cooking meats there is NO sugar involved in the Mailliard reaction. It’s proteins and heat; meat has no sugar. Sugars would involve caramelization, a different thing.
Dan, I must disagree with you. When you’re cooking meats, the Maillard reaction is the browning process that creates rich flavor and color. It’s a chemical reaction between amino acids (from proteins) and reducing sugars (such as glucose or ribose), both of which naturally occur in meat.
Dear Reluctant gourmet:
I was about to saute some garlic and I contemplated my next steps, I realized that I have never gotten straight on how to make sure the oil is exactly the right temp for what you want to do. So I researched it and found you.
I never knew any of the science. And tho perhaps limited…as some of the comments seem to suggest–it was perfect for me. Thanks.
You didn’t mention anything about the questions asked about “They wanted to know if I use medium, medium-high, or high heat.
I believe that some reference to these stove top type of information and what you are describing best temperatures to be using for particular things that you talk about. The majority of your readers are more like me that have temperatures listed on stove top dials as 1 through 9 or there about.
We take a guess as to which reading, low, medium, medium high or high heat, we are trying to set a dial number to match up with the different ranges. I know that this is a guessing game, so a general number for these items would be of great help. We are mostly amateur cooks out here so giving this kind of information to us would sure help us. Thanks
Interesting question David. The numbers you see on stove top dials are not designed to correlate with cooking temperatures. You can’t assume #4 is associated with a particular temperature because there are too many variables. First of all, every manufacturer of stoves is going to calibrate their numbers differently. Also, how hot your pan gets depends on the type of metal your pan is made of — copper pans are going to get much hotter than stainless steel at the same number setting for the same amount of time. Then there is the quality of the pan, the thickness of the metal and of course how long you keep the pan on the stove to heat up. The numbers basically just tell you the higher the number, the higher the heat. It’s really up to you through trial and error to get a good feeling how your stove top works best. If a recipes says to cook something at medium high heat, it won’t take long to figure out what that is on your home stove. You may make a few mistakes at first, but after very little time you’ll be quite efficient at it.
Hello Reluctant Gourmet, I really enjoyed your brief video and this post and look forward to looking around your site. It’s so interesting that you quote Chef Todd Mohr twice – I just signed up for his cooking classes, but I went looking for a more close-up video of how to tell when the pan is hot enough as I overheated my pan doing my video 2 homework tonight. I guess I didn’t know what the water droplets evaporating actually looked like. Also, I was using sesame oil, and a website I saw said its smoking point was 350, and you mention it to be around 320. That could have made a difference. Anyhow, thanks for sharing what you are learning!
French chefs use the word crepe as in crepe paper or cloth. gives a good visual